Click on image for full view and caption


scones, quiche, chicken bread and butter
Recipes on the road
Various
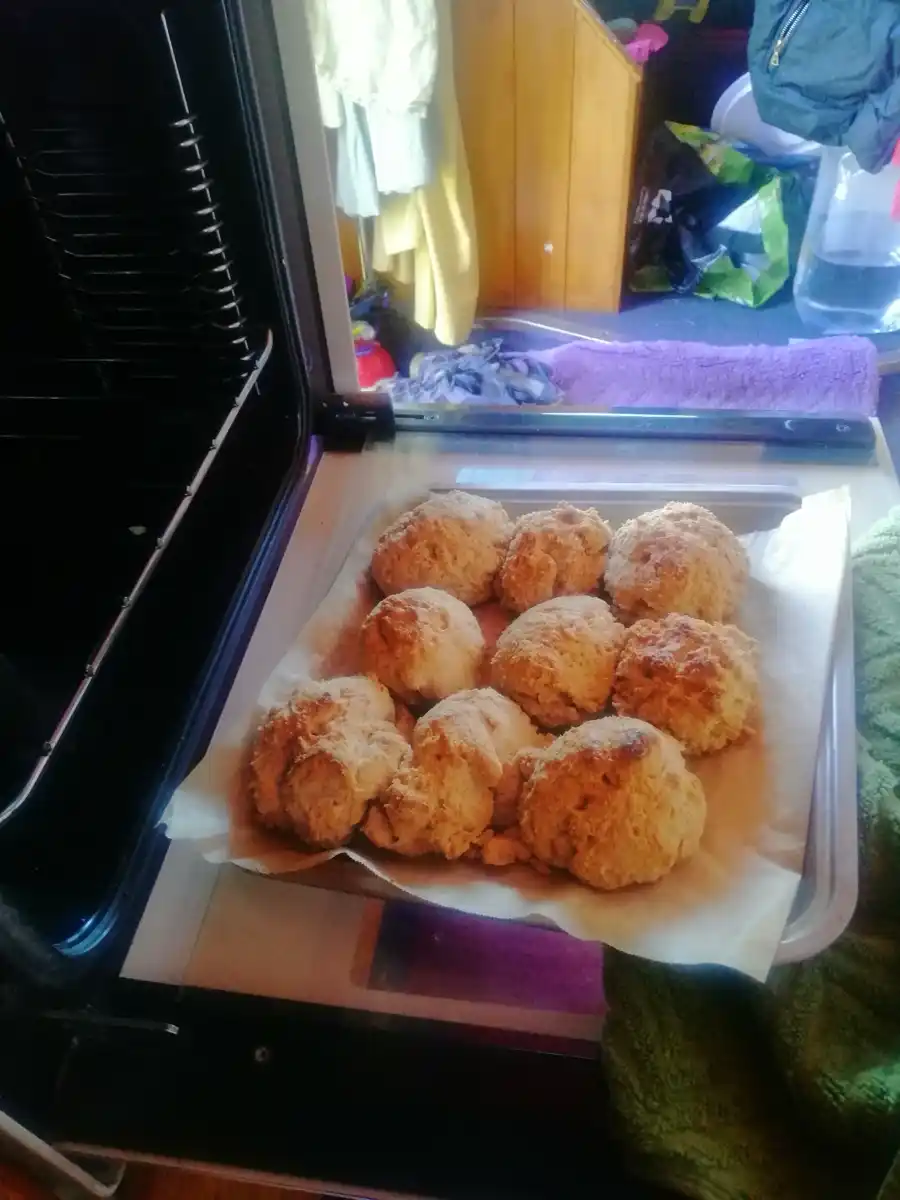
Lucy’s gluten-free scones
This recipe is a bit different as it uses a gluten free bread mix. Being gluten intolerant and both dairy- and plant-based-milk-free I have altered this recipe a bit.
To get Lucy’s gluten free bread mix (lucysglutenfree.co.nz) you can buy through Volare Bakeries (Waikato, volarebread.com), some supermarkets, Binn Inns or health stores online. There is a brown bread mix available if you don’t want white.
Keep some extra gluten free flour on hand, in case, like me, your ‘dash’ of liquid is a wee bit generous (oops).
These scones aren’t like normal scones due to the psyllium husk in the flour. You can also make a pizza base, cinnamon scrolls or Lemon Maple Drizzle Cake using the bread-mix recipes online: lucysglutenfree.co.nz/blogs/recipes.
They made great buns and are really filling.
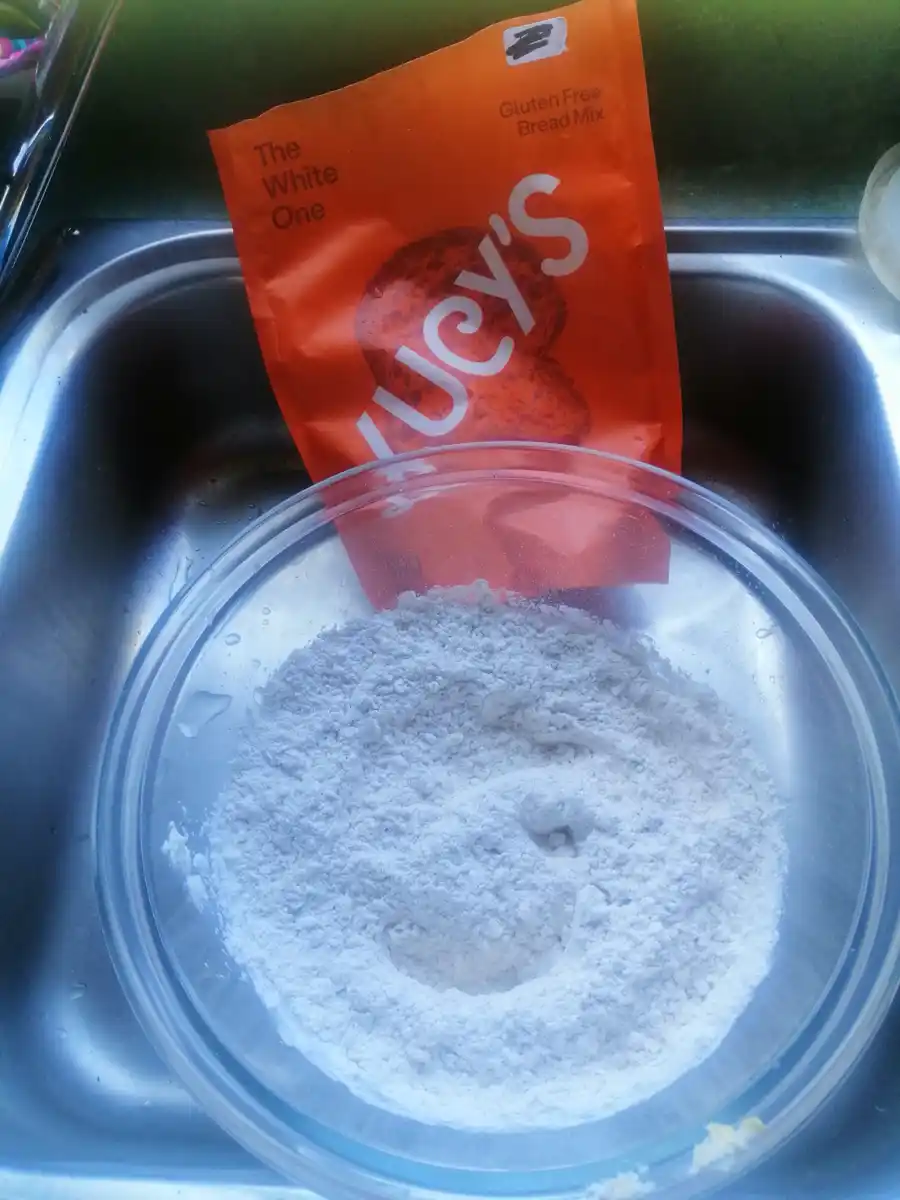
410g Lucy’s The White One Bread Mix
15g (3tsp) baking powder
150g butter, cubed and chilled
250g (1 cup) milk of your choice + extra dash (or use lemonade or ginger ale instead)
Optional: Cheese & onion
100g grated cheddar
100g diced onion
Optional: Date & ginger
100g chopped dates
3cm piece of ginger, finely grated
20g brown sugar
Preheat oven to 200°C and line a baking tray with baking parchment.
If you are doing the date option: In its own bowl, rub ginger into the sugar, and set aside ready for topping the scones.
Place flour and baking powder in a mixing bowl, along with the chilled butter.
Rub butter into the flour mix until it resembles bread crumbs, 3–4 minutes by hand. If you feel the butter becoming too soft, chill the mix for 10 mins. (NOTE:Keeping the butter cold throughout the whole process, leads to a more delicate, layered scone).
Add in milk and mix to combine. This is the time to add in onion, cheese (reserve a bit for the tops) or the dates, if you are using them.
Divide mix into 100g pieces, and shape into firm rough squares by hand, making sure they are standing tall.
Place on to the baking tray and brush a light coat of milk on the top of each scone. If doing extras, dollop the ginger-sugar mix or a sprinkle of cheese on top of each.
Put scones straight into oven, bake for25mins, until golden.
Maggie O’Rourke. Photos: ©2025 Maggie O’Rourke

Crustless quiche
1½ cups milk
½ cup flour
1tsp baking powder
1 cup grated cheese
3 eggs
1 onion, finely chopped
2 slices bacon, chopped
1 tsp parsley
1 tsp salt pepper to taste
1 cup of veges. Suggestions: courgettes, grated; spinach/silverbeet, finely sliced; broccoli, mushrooms, tomatoes, cold mashed potato (I usually use 2–3 of these).
Mix together milk, flour, baking powder, cheese and eggs.
Then add onion, bacon, parsley, salt & pepper and veges.
Mix well.
Pour into a shallow oven tray/dish.
Cook at 180°C for 20−25 minutes, until golden brown and firm to touch.
Leave to stand for 5 minutes before cutting.
Enjoy.
Jo Ravelich
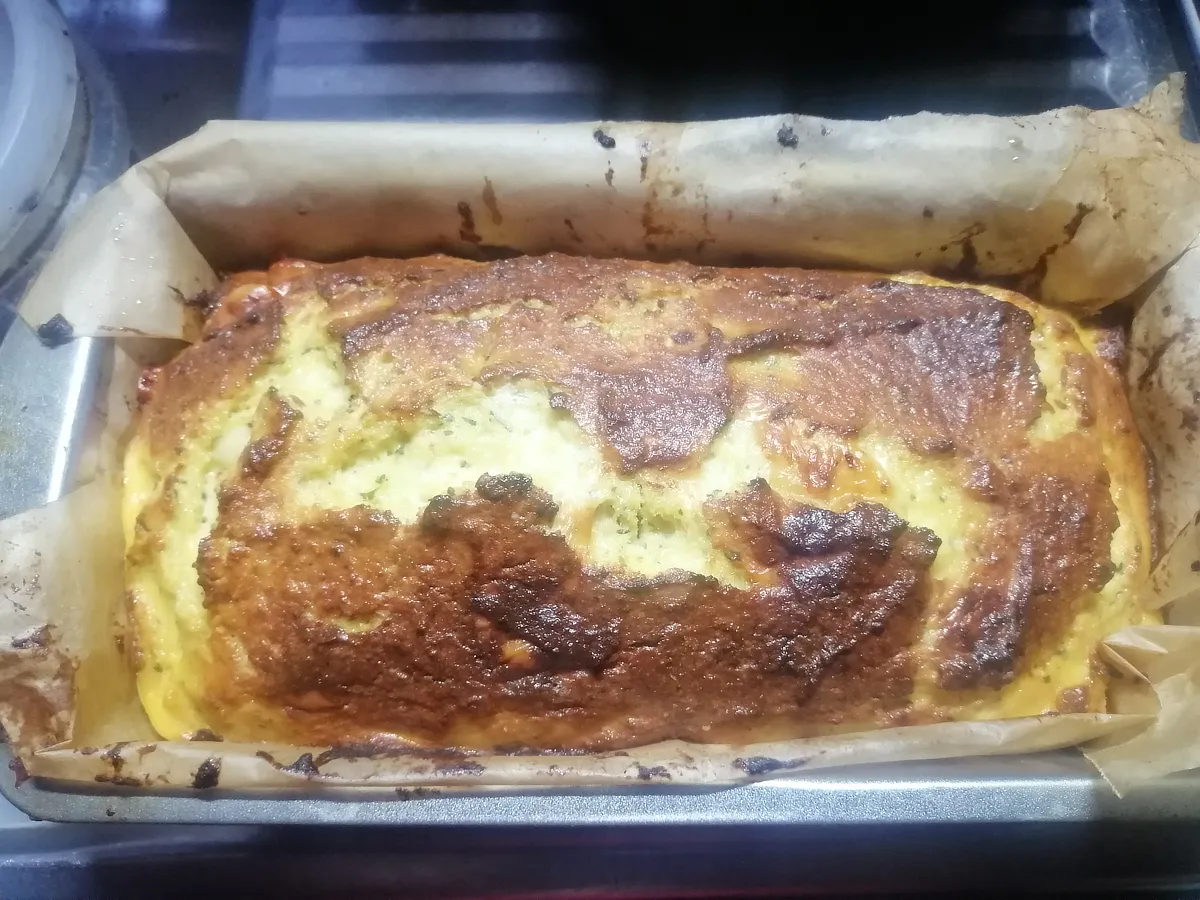

Zero-carb chicken bread loaf
Super yummy. I tried the mince version too but I prefer the chicken loaf.
Great loaf to bring as a plate and its also gluten free.
500 grams chicken mince
½ cup parmesan (or any cheese)
5 large eggs
½ tablespoon oil
Salt to taste
2 tsp baking powder
Optional: your seasonings
Preheat the oven to 185°C .
On medium high heat, in your frying pan, cook your chicken in oil and salt. Let cool.
In a blender (or use a stick mixer), add your cooked chicken, eggs, parmesan cheese and baking powder, any optional seasonings and blend until smooth.
Place your bread batter in a well greased loaf pan
Bake for 30–35 minutes until a toothpick comes out clean.
Slice and serve! lowcarblove.com/blog/zero-carb-chicken-bread-loaf
I made home made butter for the loaf — a messy adventure. See below.
Maggie O’Rourke. Photos: ©2025 Maggie O’Rourke
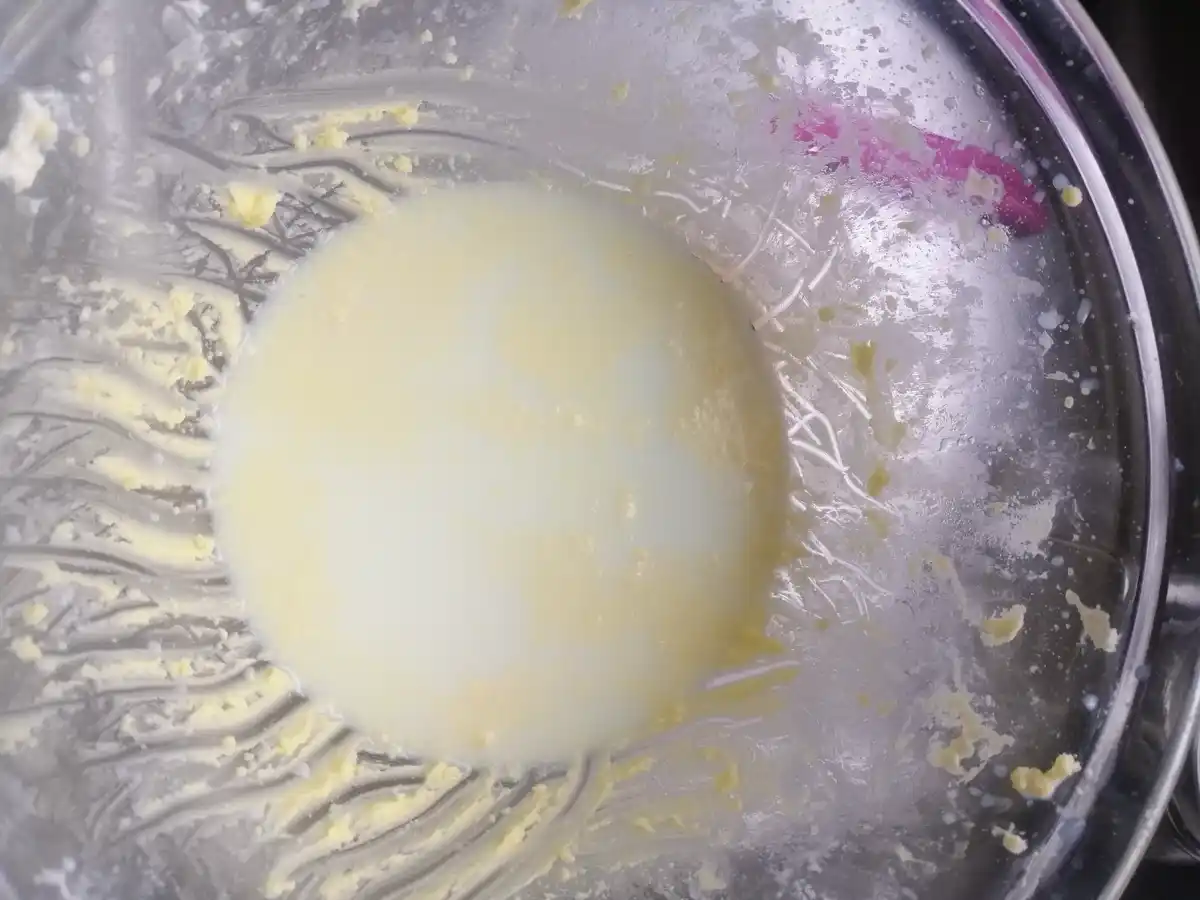
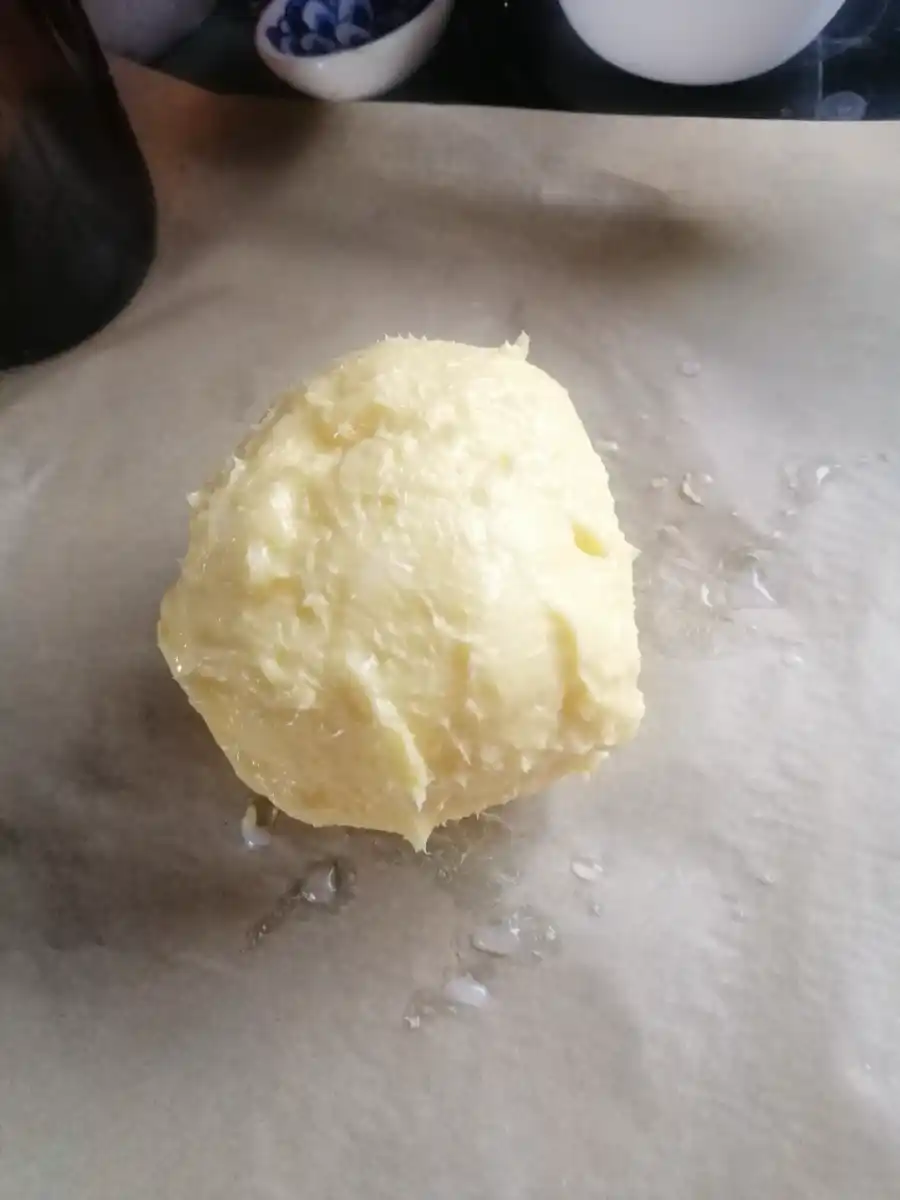
Home made butter: Kiwi Gold
I think the last time I made butter was in a cooking class at college, and I never remembered it being so messy. Luckily I read the recipe first so I put a jug of water into the fridge to cool ready for the ice-cold bath. One thing I forgot to do was turn my hot water on to wash my hands after — yes I could have worn gloves, but the yellow mess between the fingers is super fun. I will soon tell you about that.
Who’s tried making butter before? This is a once in a life time experience.
Though the recipe says 5–7 minutes of mixing, it really depends on the mixer. I don’t have a fancy mixer in my bus, though was blessed to be at a camp ground so could use their power. The 7 mins went, then 10 mins and it looked nothing like what they said with separation of the buttermilk, I have no idea on how long it took, but finally, finally, it happened.
I grabbed the icy water from the fridge, got the baking sheet out and an air-tight container.
This is where the messy part comes in as you have to pick the butter up out of the bowl and squeeeeze the buttermilk out until it looks like a blob of butter, then you rinse in the cold water and squeeze more out.
After several squeezing attempts you have butter. Then add some salt. Lick your buttery fingers and wipe off the rest
Wrap it in the paper and put it in the container in the fridge. A spoonful of butter is super yum.
Now what to do with the buttermilk?
I tried making buttermilk icecream what a disaster that was.


Homemade butter
2 cups heavy cream
Salt to taste
Add the heavy cream to an electric mixer. Start whipping the cream on low speed until it thickens slightly.
Gradually increase the mixer speed to medium-high and continue to whip for 5–7 minutes, scraping down the sides every now and then. Continue mixing past the whipped cream phase, and you’ll see the cream begin to break into butter (fat molecules) and liquid (buttermilk).
Remove the butter from the mixer (save the buttermilk for use later!) and squeeze out any excess moisture by repeatedly squeezing the butter through your hands.
Quickly rinse the butter under ice cold water and add salt to taste.
Store in either an air-tight container or rolled up in parchment paper.
Keep it in the fridge and use within 10–14 days.
justinesnacks.com/homemade-butter
Maggie O’Rourke. Photos: ©2025 Maggie O’Rourke
🏕️
Summer 2025
, p
28
