The Aeropress: quality coffee with an easy clean up
Miriam Richardson

I don’t remember how I learned about the Aeropress, but it arrived in my life as a very welcome blessing.
No more sloppy grinds in the bottom of the waste bucket. No more looking for bushes to throw them under. No more last, pesky grounds to be got out of the French press without letting them get into my grey tank. In a house, you just flush them down the drain and think nothing of it, but not in a camper.
The Aeropress is lighter, smaller and less breakable than a French press. It uses espresso grind, and paper filters. There is more flexibility in the taste of the coffee.
The flexibility means some experimentation is needed to get exactly the taste you want. Each year there is a competition for Aeropress baristas who publish their “recipes”.
The variables are:
which coffee
its grind size
how much of it
how much brewing water
the water temperature • the length and
the vigour of the stir • the length of the wait
the length of the press.
how much water you then add.
You soon learn your own formula for a perfect cup. worldaeropresschampionship.com
The process:
Fit the plunger into the barrel.
Add your coffee.
Add the hot water.
Stir.
Wait.
Put the lid (with filter) on.
Put over your mug.
Press the coffee through; this takes effort.
Take the lid off, send the puck of coffee grounds into your bokashi bucket /compost bin/waste bin.
Use a small bit of paper towel to wipe the last bits off the rubber (this will compost too).
Top up your mug or leave it espresso strength.

You can make more than one cup in one pressing, in which case, after the pressing, divide the concentrated coffee into two or more mugs.
A dab of water on the filter keeps it in place.
Have as little air in the barrel as possible; the air is hard to press through (after the stir, top up the water, so there is less air to press).
Don’t use boiling water: after 2 years the barrel’s plastic degrades (just below boiling point is fine).
Wash the Aeropress in hot soapy water.
Filters come in a box of 500. I peel the filter off; if it comes off cleanly I reuse it for my second cup.
The rubber seal is replacable; I replaced mine after 6 years.
Extend the life of the rubber seal: only leave it under tension in the barrel while you are actually brewing.
Be sure to buy the real thing. Voice of experience: cheap knock-offs don’t always work properly.

Your perfect cuppa, and compact in the cupboard

Click on the gallery for a full size view

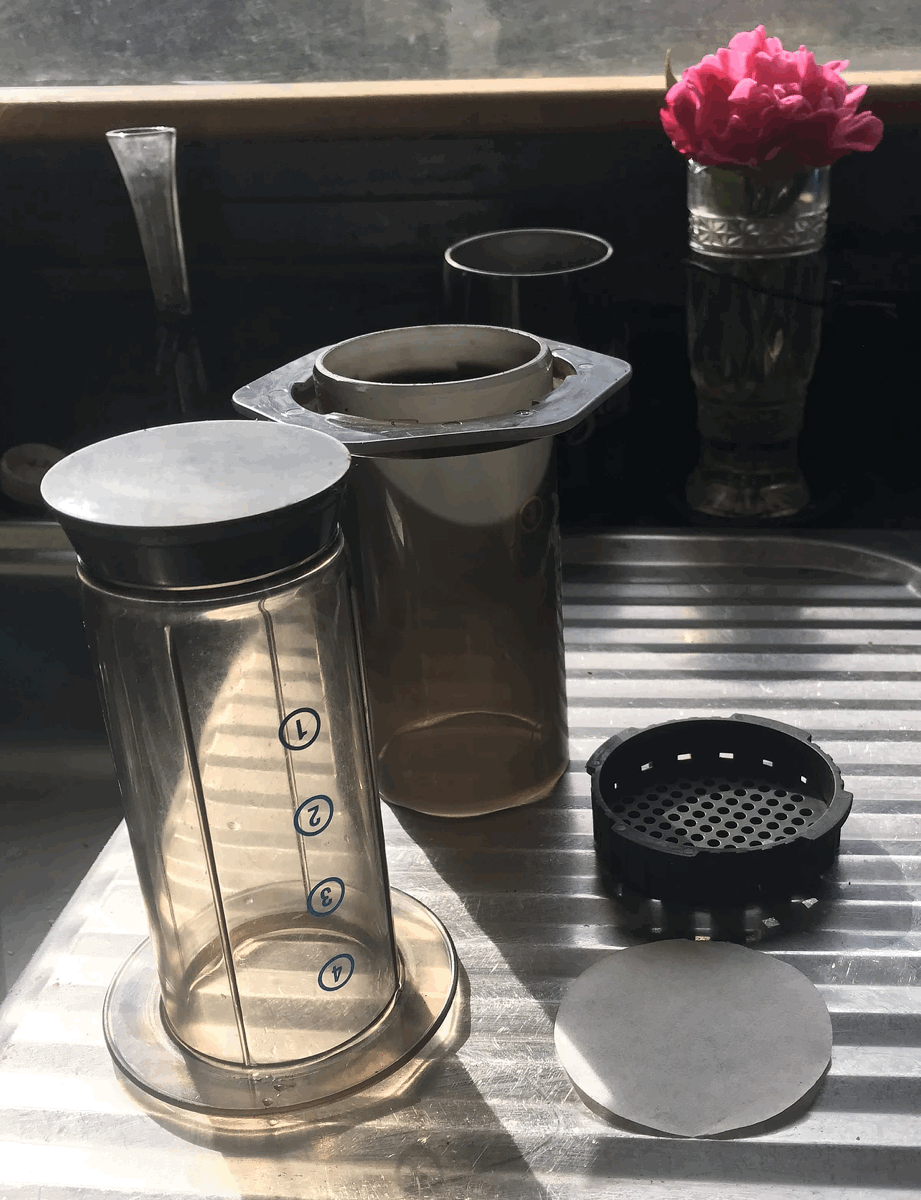
Barrel, plunger, cap and filter.

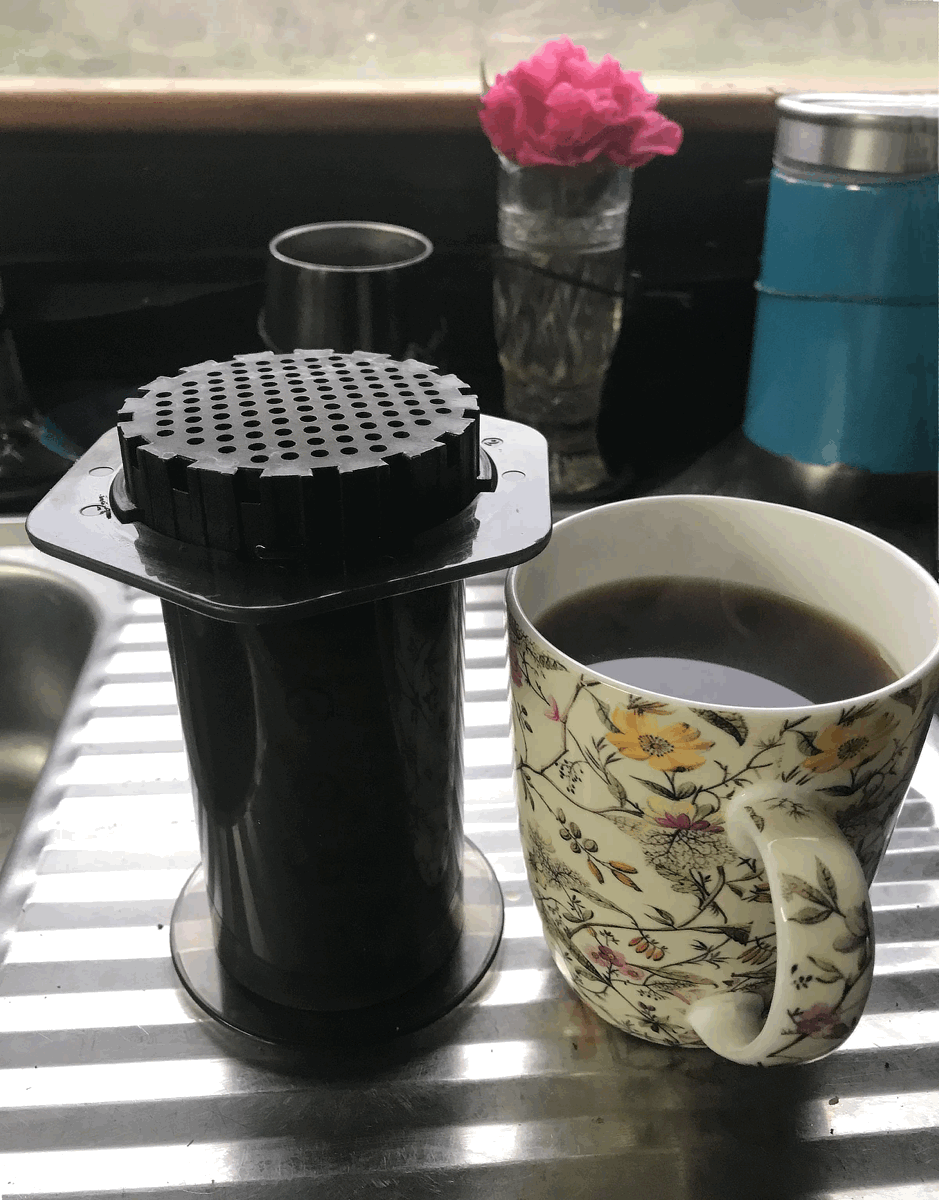
The plunge is in the barrel. Tipped up ready to receive the coffee. The filter is in the cap.

Washed off, the plunger in the barrel, pushed through sp there is not tension n the rubber end, and the cap arched on top. A light, small, neat thing to store in the cupboard.

Barrel, plunger, cap and filter.